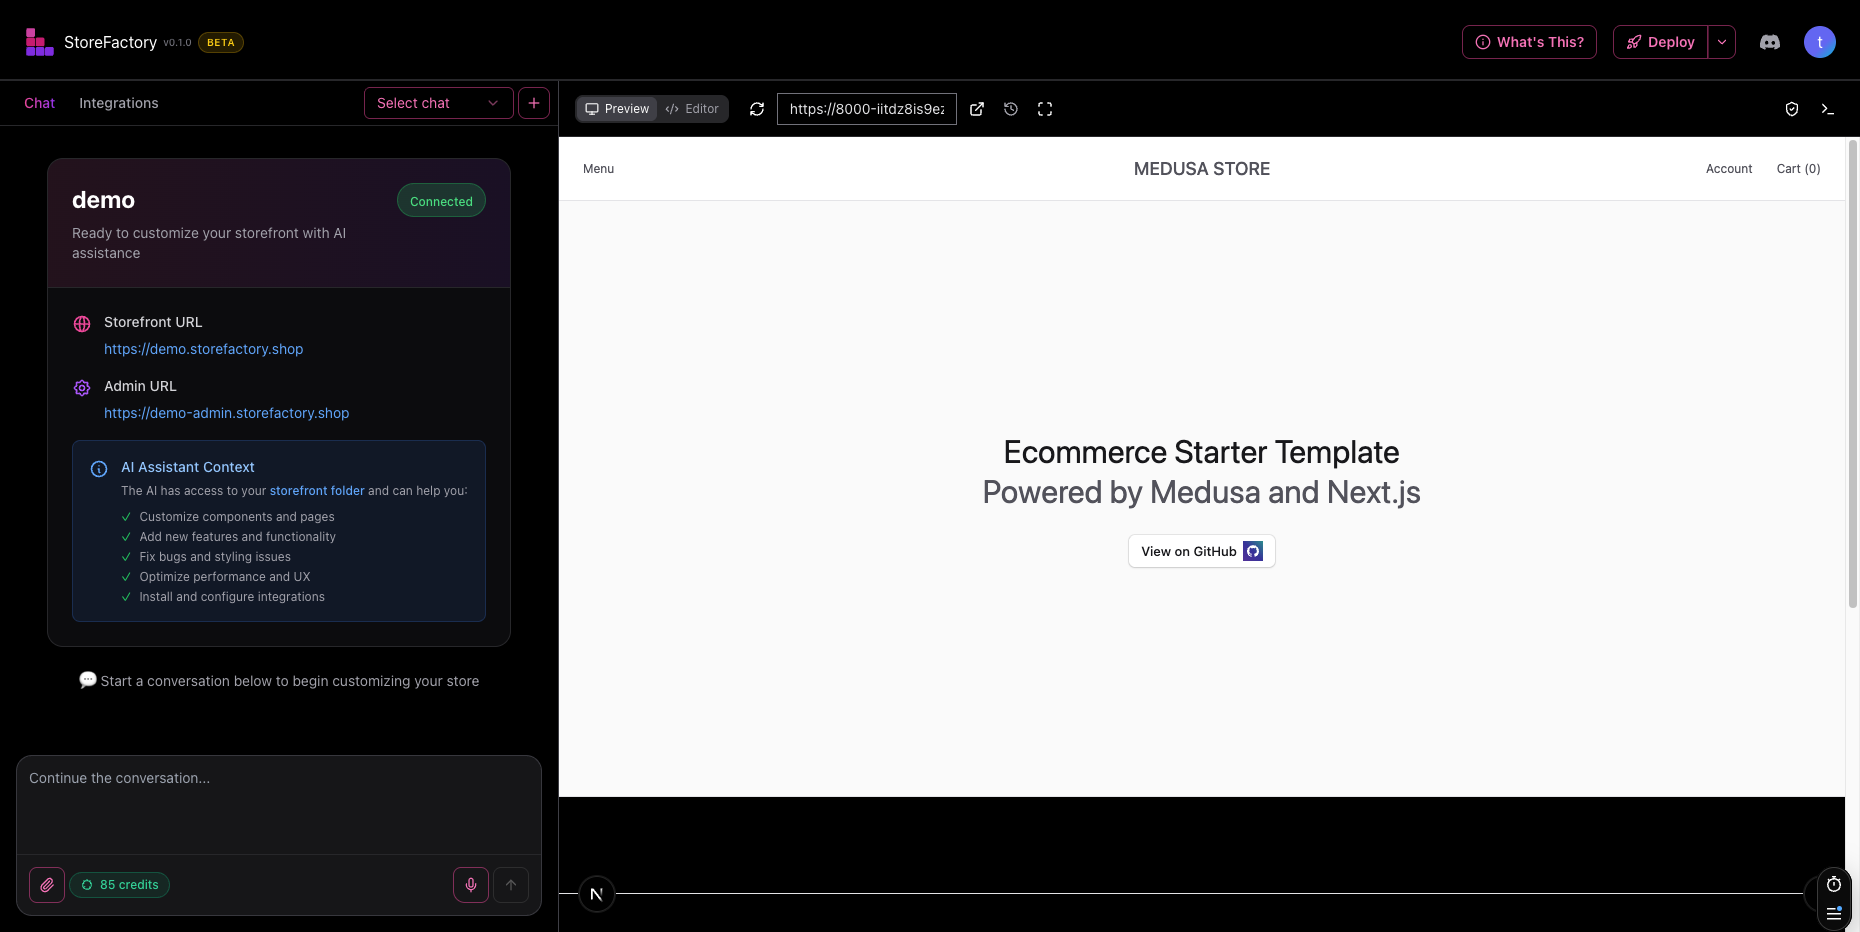
Using the Store Editor
The Store Editor is where you describe storefront changes in plain English, review the result, and deploy approved updates.
What the editor is for
Use the editor for storefront work such as:
- homepage updates
- content changes
- landing pages
- section layout changes
- design refinements
- messaging and promotional updates
- integration setup and configuration
Use Medusa Admin for product, inventory, order, and customer operations instead.
Open the editor
You can get to the editor from the dashboard after your store is live.
Look for the Open Store Editor action or open the editor directly from your normal workflow.
Start a new chat or reopen an old one
The editor supports saved conversations.
- Use the chat selector to reopen an older conversation.
- Use the + button to start a new chat.
- Rename or delete chats from the chat options menu when you want to keep your workspace tidy.
This is useful when you want separate conversations for homepage changes, campaigns, seasonal updates, or experiments.

Write effective prompts
The best prompts are specific.
Include:
- what should change
- where the change should happen
- the tone or brand direction
- the goal of the change
- anything that must stay the same
Good prompt examples
- "Update the homepage hero to focus on faster checkout and add a stronger call to action. Keep the dark theme and premium look."
- "Create a landing page for our spring collection with a headline, featured products section, testimonials, and an email sign-up block."
- "Make the navigation clearer on mobile and reduce clutter above the fold."
Better follow-up prompts
If the first result is close, avoid starting over. Say exactly what to refine.
Examples:
- "Keep this layout but reduce the hero height."
- "Use shorter copy and make the CTA more urgent."
- "The spacing is too loose on mobile. Tighten it up."
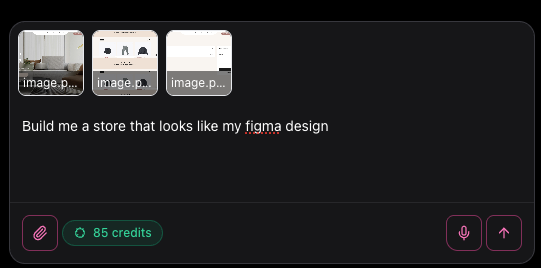
Add reference images
You can attach images directly in the prompt area.
Use this for:
- inspiration screenshots
- examples of layouts you like
- visual bug reports
- brand reference images
- competitor examples for structure or tone
When you attach an image, explain what the AI should pay attention to.
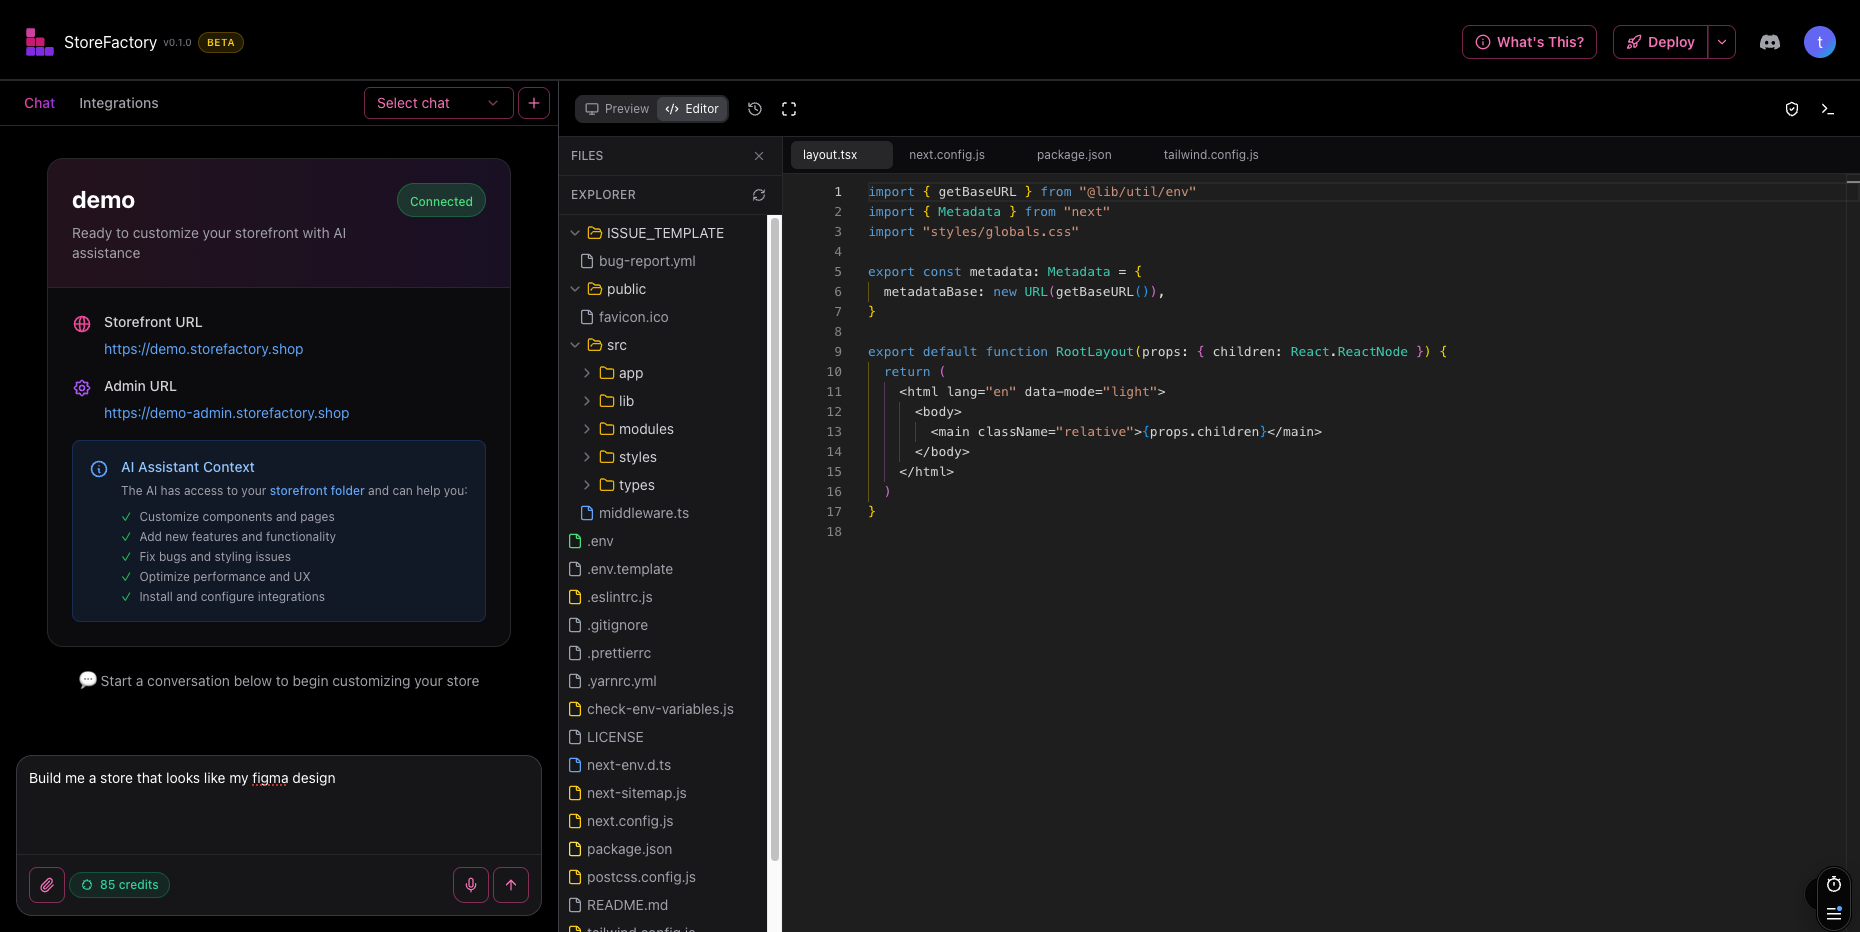
Review the preview
As changes are made, use the preview panel to inspect the result.
You can use the preview to:
- review page structure
- test layout changes
- confirm messaging updates
- catch visual issues before deployment
For more advanced review, the editor workspace also exposes code and development views, but most day-to-day users can stay focused on the visual preview.
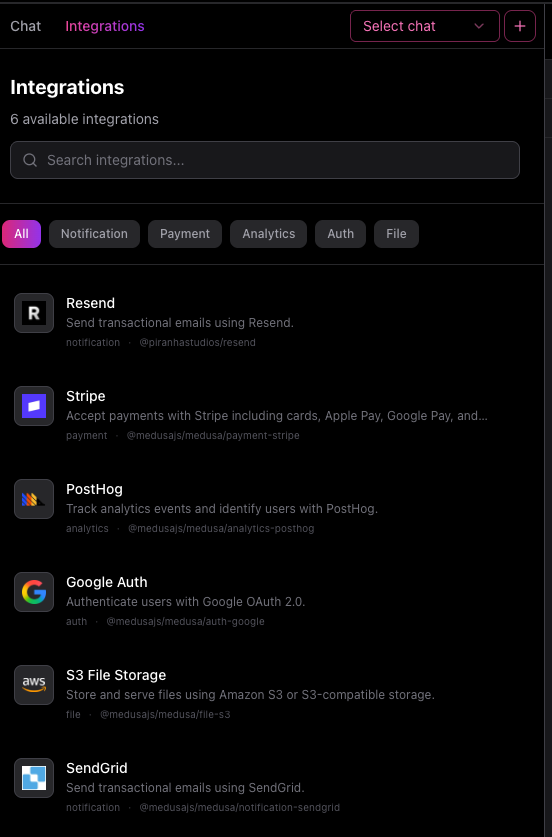
Use the Integrations tab
The editor includes an Integrations area where you can browse, install, and configure integrations.
Typical workflow:
- Open the Integrations tab.
- Search by name or browse by category.
- Select the integration you want.
- Enter the required credentials or configuration values.
- Start the install.
- Wait for the status to move from Pending or Installing to Connected.
If you do not have the required credentials, ask your internal team or open a support request.
Deploy your changes
Once you're happy with the result, use the Deploy button in the editor.
After you deploy:
- watch the deployment activity panel for progress
- confirm the result on the live storefront
- use the Deployments page if you want a longer history of what happened
If the system reports that the store is already up to date, no new deployment is needed.

Editor best practices
Follow these habits to get better results:
- keep one goal per prompt when possible
- use follow-up prompts to refine, not restart
- attach screenshots for visual tasks
- confirm changes in preview before deploying
- use separate chats for different initiatives
When not to use the editor
Do not use the editor for everything.
Use another area if your task is operational:
- products, pricing, inventory, or orders → Medusa Admin
- billing, domain help, or larger implementation requests → Support
- release confirmation → Deployments
Next step
Continue with Managing Your Store to learn the day-to-day operational workflow.