Getting Started
This guide walks you through your first session in StoreFactory and explains what to expect while your store is being set up.
Before you begin
Make sure you have:
- a StoreFactory account
- access to your dashboard
- any branding references you want to use later in the editor
- any product, pricing, or operational information your team needs to launch
Step 1: Open your dashboard
After signing in, go to the dashboard. This is your control center.
From here you can:
- check your store status
- open your storefront
- open Medusa Admin
- request help
- track deployments
- review plan limits and credits
Step 2: Understand your store status
Your store may move through a few setup states:
- Provisioning — StoreFactory is creating the base infrastructure.
- Building — storefront, admin, and backend services are still being prepared.
- Live — your store is ready for normal use.
If your store is still provisioning or building, some actions may be limited until setup finishes.

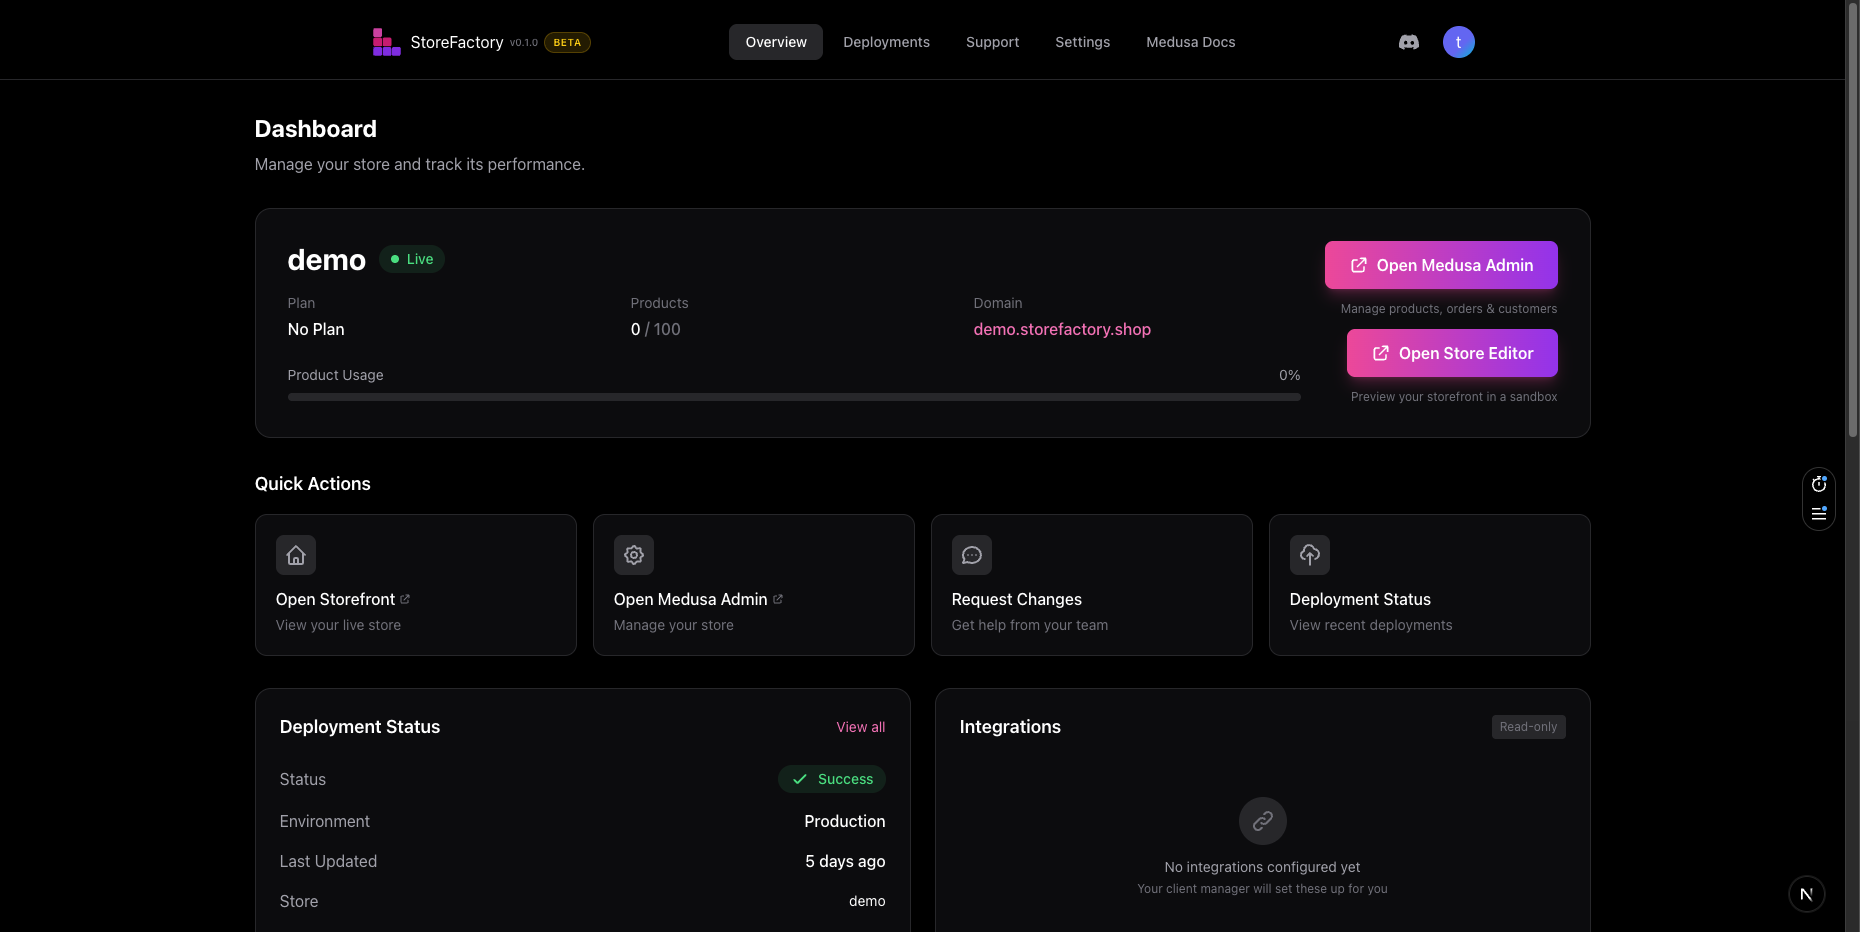
Step 3: Learn the quick actions
When your store is available, the dashboard gives you fast links to the areas you'll use most:
- Open Storefront — view the live customer-facing store
- Open Medusa Admin — manage products, orders, and customers
- Request Changes — open Support for help or implementation work
- Deployment Status — review recent deployment activity
These shortcuts are the fastest way to move between the main parts of StoreFactory.

Step 4: Review your store overview
The store overview tells you the essentials at a glance:
- store name
- current plan
- product usage
- domain
- setup status
Use this section to confirm that your store is pointed at the right domain and is in the right state before you start making changes.
Step 5: Know which tool to use
Use the right area for the right kind of task:
Use the Store Editor when you want to:
- change the homepage
- update sections or layouts
- rewrite copy
- improve the visual design
- add promotional banners or landing-page content
- configure integrations from the editor workspace
Use Medusa Admin when you want to:
- add or edit products
- update prices
- manage inventory
- process orders
- review customers
Use Support when you want to:
- request larger changes
- ask for domain help
- get billing help
- request a new integration
- report something that is broken
Your first-day checklist
Use this checklist after your first login:
- Confirm the store name and domain.
- Open the storefront and review the customer experience.
- Open Medusa Admin and confirm products, pricing, and operational settings.
- Open the Store Editor and make your first change.
- Check the Deployments page after publishing.
- Update notification settings in Settings.
Next step
Continue with Using the Store Editor to learn how to make changes with AI.